WOK IN PROGRESS - TRAVAUX EN
COURS - LAVORI IN CORSO - ARBEITSVORGANG
|
|
WOK IN PROGRESS - TRAVAUX EN
COURS - LAVORI IN CORSO - ARBEITSVORGANG
|
|
 |
|
||||||
|
||||||||
|
||||||||
|
The
idea
|
|
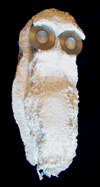
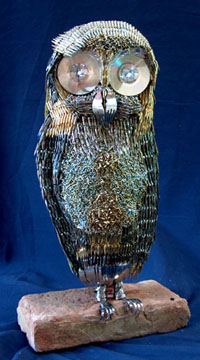
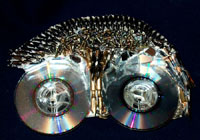
Feb. 24 I thought of the owl immediately as my brother Bertrand gave me several mini audio disks ( I did not even know they existed) about 8cm in diameter. It was in Paris. Also for some time I wanted to make a bird sculpture and decorate it with penpoint nibs (which I found by the 100s at the Flee Market in Paris) When back in Siena I place the disks on a thick piece of styrofoam and started to cut it and burn it to shape an owl. |
||||||
| Execution |
 |
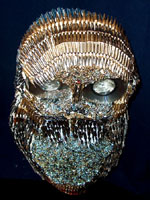
April 6 The easy access to the LED's was a significant challenge.
|
||||||
|
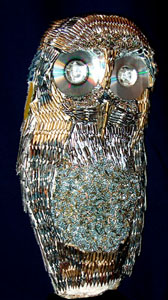
March 15 The rest of the front and the head was decorated with nibs. I had blakened some by dropping them in water after holding them on a flamme until turned red from the heat. Some others were sprayed with gold. So I had 3 types of nibs to choose from. Behind the disks in the eye's cavities I glued small pieces of broken mirror and decided to install small LEDs in the middle of the eyes. |
||||||||
 |
April 12
|
 |
||||||
|
Decorating
the back of the owl
|
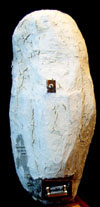 |
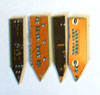
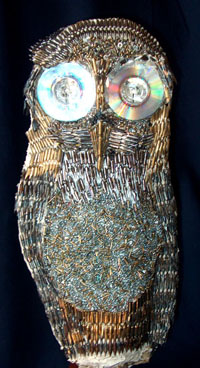
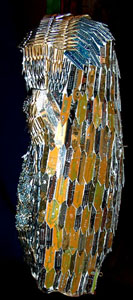
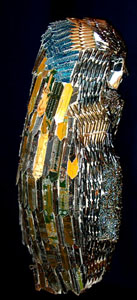
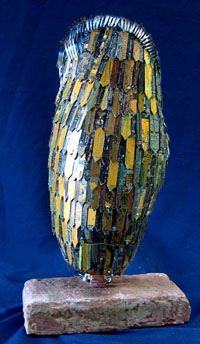
The back before decorating shows the center position of the switch to illuminate the LEDs, and the battery box at the bottom. The decoration shall be with pieces of printed circuits, golden and dark brown, cut in long narrow rectangle with a triangular base.
|
||||||
 |
|
 |
||||||
 |
|
July 25
|
||||||
|
|
|
|
||||||